Your Cart is Empty
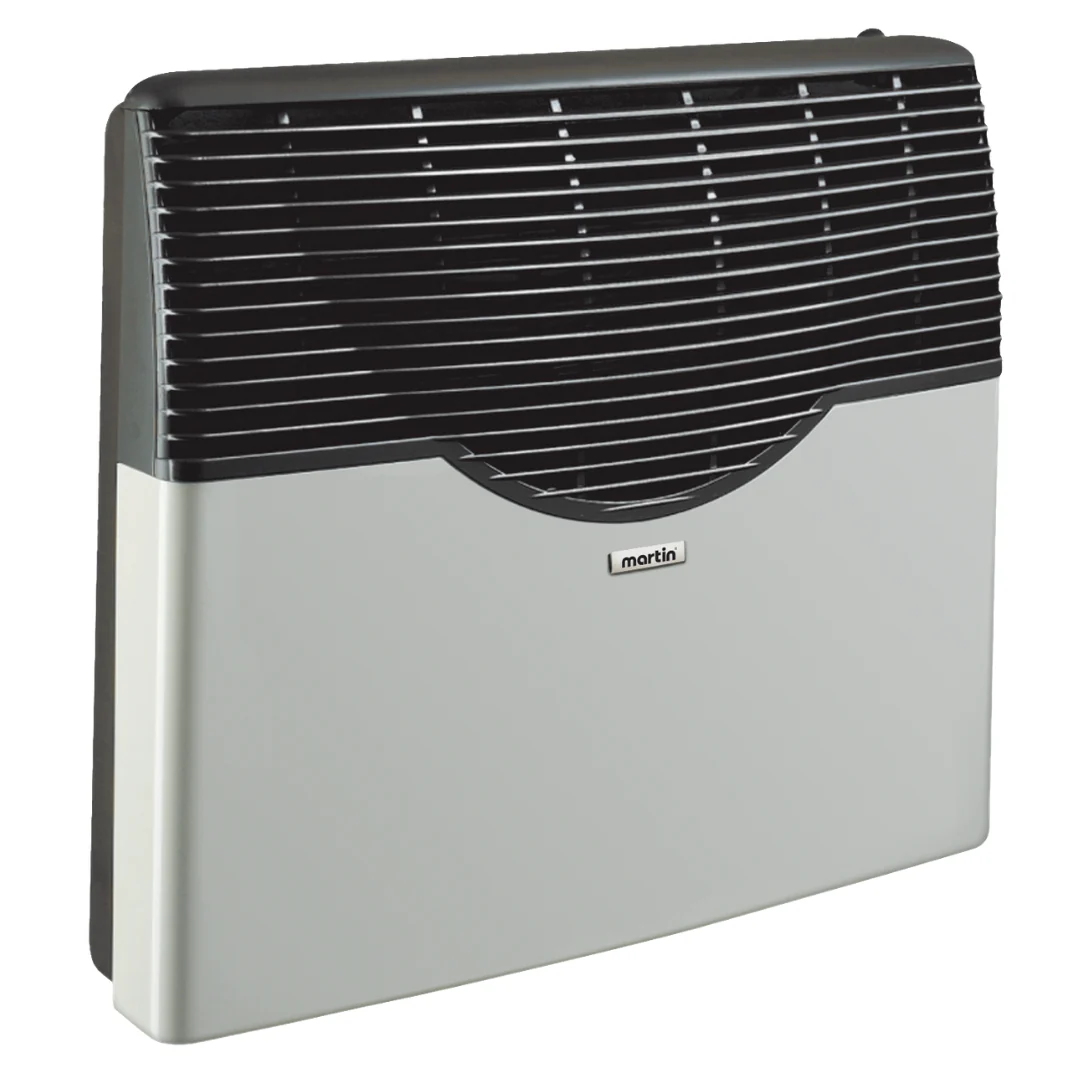
How to Install a Martin Direct Vent Heater
Key Takeaways
- Installing a Martin Direct Vent Heater takes nine steps, from choosing a wall location through starting the unit, with no electrical connection needed anywhere in the process
- Sealed combustion keeps the gas flame from ever touching room air, so the installation site needs exterior vent clearance, not general room airflow
- Mounting and most assembly steps are manageable DIY work, but the gas line connection should be completed by a licensed professional
- A soap-and-water leak test on every gas connection is a mandatory step before first use, not an optional precaution
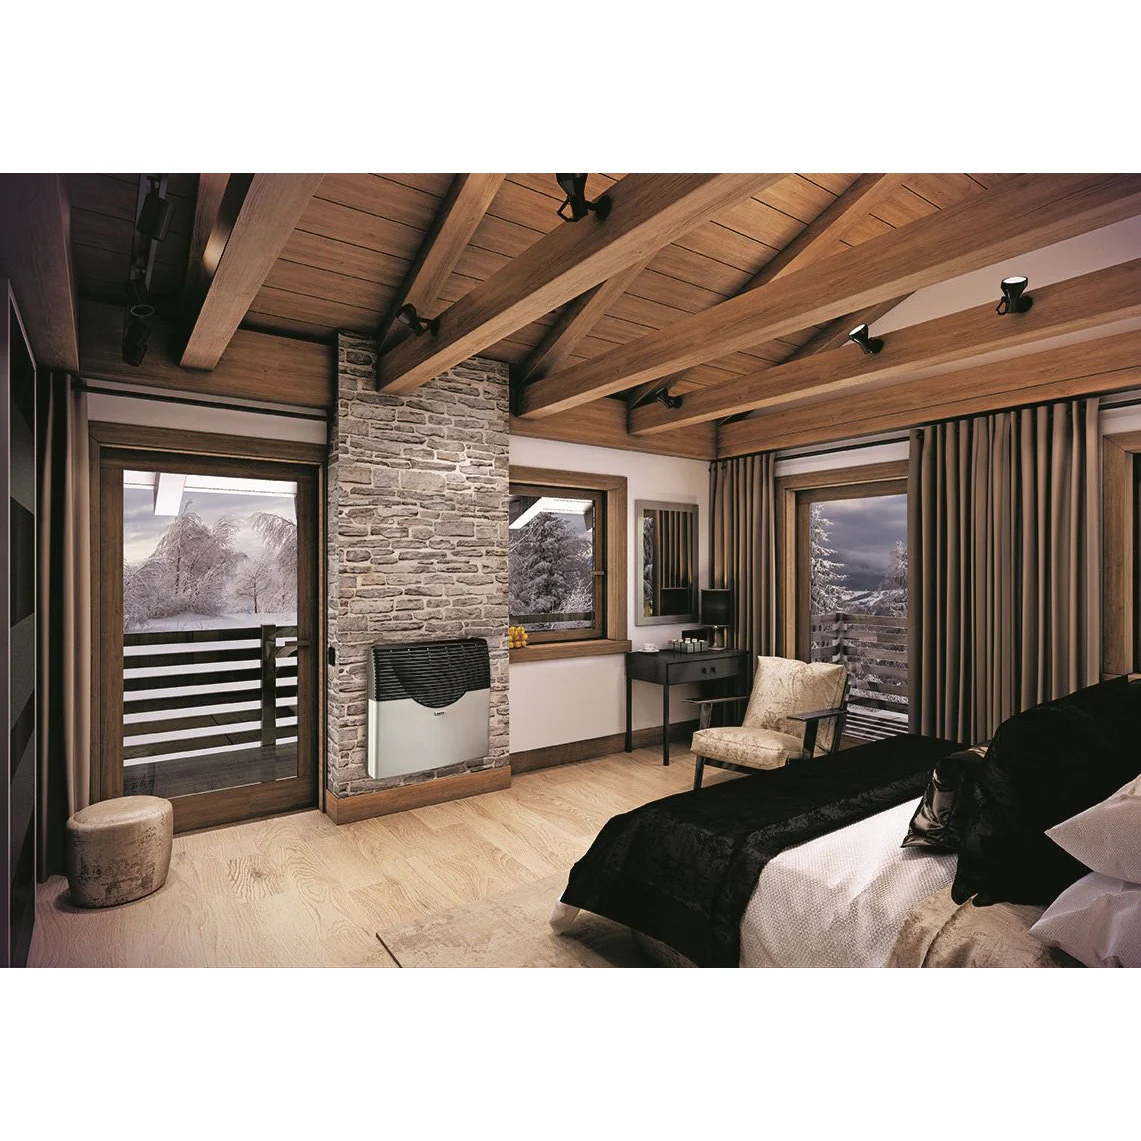
Installing a Martin Propane Heater is a straightforward process that can turn any room into a warm, comfortable space. It's a great fit for zoned heating, delivering clean, even heat without drawing on room air for combustion.
Here's a full walkthrough of the installation process. Because the gas flame stays sealed away from room air entirely, you get continuous, clean heat with none of the indoor air quality trade-offs of an unsealed heater.
Key Points
Installation comes down to nine steps:
- Select an exterior wall location.
- Mark and cut the opening.
- Install the adjustable vent assembly.
- Connect the gas line.
- Secure the heater unit.
- Connect the vent assembly.
- Install the pilot assembly.
- Perform a leak test.
- Start the heater.
Preparation
Before you begin, gather the heater unit, the adjustable vent assembly, the pilot assembly, and the hardware included with your Martin heater. You'll also need a drill, saw, measuring tape, level, and the correct fuel connection for your model, natural gas or propane. If you're still unsure about any part of the process after reading through this guide, a licensed professional can handle the parts you're not comfortable with.
How to Install a Martin Direct Vent Heater
1. Choose the Installation Site
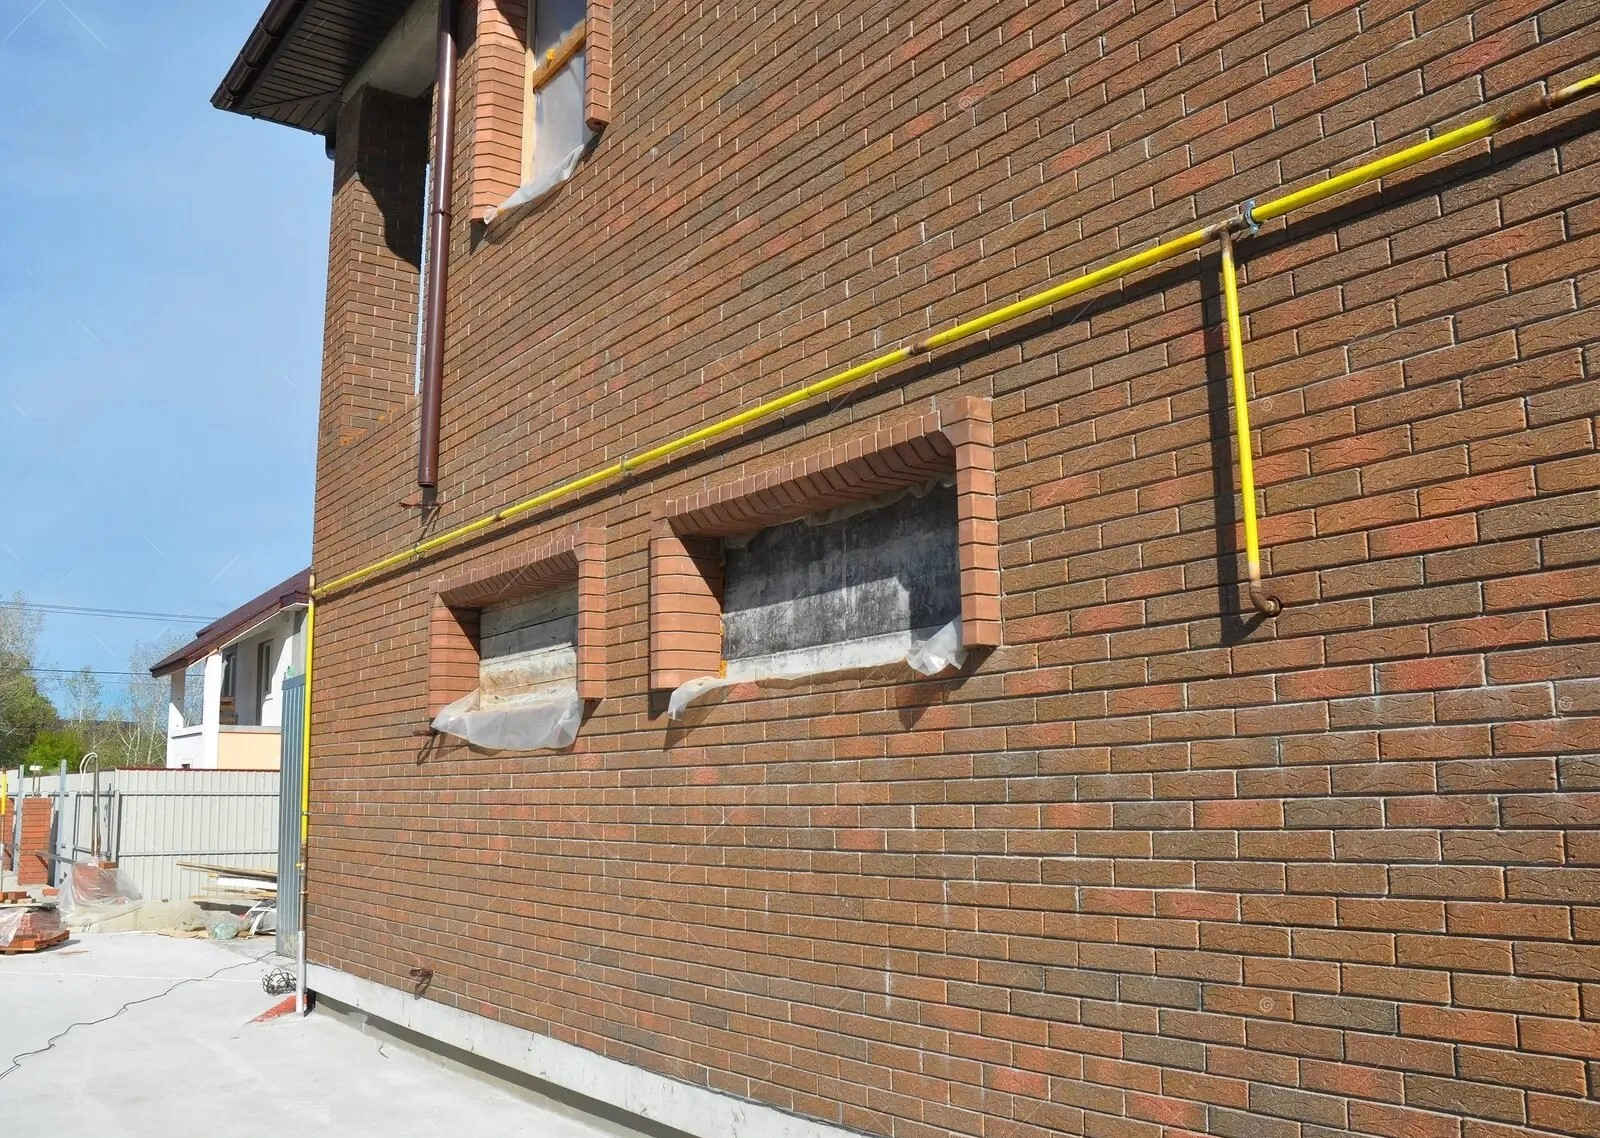
Select a location along an exterior wall. The site should be free of obstructions on both sides of the wall, with clearance around where the exterior vent terminal will sit once installed. Consider the position of nearby doors and windows, since the exterior vent cap needs to stay clear of those openings per the manufacturer's clearance requirements.
2. Mark and Cut the Opening
Measure and mark where the adjustable vent assembly will pass through the exterior wall, then cut an opening matching the vent's width and height. This is what lets exhaust and combustion byproducts vent directly outside while keeping the air inside the home clean. The gas flame stays sealed away from all contact with room air for clean, comfortable heat.
3. Install the Adjustable Vent Assembly
Place the vent assembly through the wall opening. It adjusts to fit different wall thicknesses, so confirm it fits snugly before securing it with the provided hardware. Check that it's level before moving on.
4. Connect the Gas Line
Attach the gas line to the heater with all gas valves turned off first. Follow the instructions specific to your fuel type, natural gas or propane. This step should be completed by a licensed gas fitter to ensure safety and compliance with local code.
5. Secure the Heater Unit
Mount the heater on the wall, aligned with the vent assembly, using the included hardware. Confirm it's level and firmly secured to the wall studs before proceeding.
6. Connect the Vent Assembly
Attach the vent assembly to the heater with a tight, sealed connection to prevent any combustion byproducts from leaking into the room. The assembly's adjustability helps it seat properly regardless of your specific wall thickness.
7. Install the Pilot Assembly
Follow the manufacturer's instructions closely here, since the pilot assembly is central to how the heater ignites and runs. Confirm every connection is tight before moving forward.
8. Perform a Leak Test
Turn on the gas supply and check every connection with a soap-and-water solution. Bubbles mean a leak, and any leak needs to be addressed immediately before you proceed to start the heater.
9. Start the Heater
Turn the heater on and set your desired temperature. Watch the unit for the first few hours of operation to confirm it's running correctly and producing steady, comfortable heat.

Safety Considerations
- Confirm the exterior vent terminal stays clear. Since combustion air comes from outside through the sealed vent, the vent cap itself, not the room, needs to stay unobstructed by snow, plants, or other buildup.
- Keep combustible materials away from the heater per the clearance distances in the manual.
- Inspect the heater and vent assembly periodically for wear or damage.
- Take improper installation seriously. A poorly sealed vent connection or undersized clearance can allow combustion byproducts to reach indoor air, which is exactly what the sealed direct-vent design is meant to prevent. Following the manufacturer's instructions closely, or using a licensed professional for the gas connection, is what keeps that risk where it belongs: outside the home.
Frequently Asked Questions
Does installing a Martin heater require an electrical connection?
No. Martin's direct-vent models use piezo ignition and a self-powered millivolt thermostat circuit, so no electrical hookup is needed anywhere in the installation. That's part of what makes them reliable during power outages.
Can I install a Martin heater myself?
Most of the mounting and assembly steps are manageable for a confident DIYer. The gas line connection specifically should be completed by a licensed gas fitter to meet code and manufacturer requirements.
Why does the installation site need vent clearance instead of room ventilation?
Martin's sealed direct-vent design pulls combustion air from outside and exhausts outside through the same vent, so the flame never touches room air. The only airflow that matters is around the exterior vent terminal itself, not the room the heater is installed in.
Conclusion
Installing a Martin Direct Vent Heater is a practical way to bring comfortable, sealed-combustion heat to any room. This guide covers the key steps for a safe, effective installation, mounting is approachable for a confident DIYer, while the gas connection is best left to a licensed professional. Follow the manufacturer's instructions closely, and you'll have reliable, clean heat with no need for grid power at all.
![]()
Have any questions or would like to place an order? We'd love to help. Chat with our friendly customer service team by calling 1-844-945-3625, chatting in on our website, or emailing us at customersupport@wildoaktrail.com. We look forward to hearing from you!

Leave a comment
Comments will be approved before showing up.