Your Cart is Empty
Building Your Own Emergency Food Supply
Why I care about having an Emergency Food Supply
My name is Hailey, I'm the co-owner of Wild Oak Trail. My husband and I have been running this business for 6 years and we love the peace of mind having an Emergency Food Supply Brings. For our family of 4 (soon to be 5!) we've opted for ready-made freeze dried food storage, as well as dried and canned goods for our short term supply. The important thing is to start with a 14-30 day supply to cover you and your family.
Understanding Emergency Food Supply
The concept of an emergency food supply covers a range of scenarios, from a few days of self-sufficiency to a full-fledged long-term storage plan. At its core, it is about having a stockpile of food that can sustain you and your family when access to grocery stores or fresh produce is not possible. The key is to tailor your supply to the duration of the emergency you are planning for, whether it's a short-term power outage from a hurricane or a more significant disruption, like a supply chain collapse.
An adult generally needs 50g of protein and at least 1600 calories per day, so when planning your three-day emergency food supply, it should have about 150g of protein and 4,800 calories per person.
Building a Short-Term Emergency Food Supply
For short-term emergencies (anywhere from a few days to a few weeks), focus on non-perishable items that require minimal preparation, such as canned goods, dry mixes, and staples like rice and pasta. Ensure a variety of foods to meet nutritional needs and include special items for infants, elderly family members, or those with dietary restrictions. Water is also a critical component—store at least one gallon per person per day. Rotate these items regularly to maintain freshness.
Ensure that your emergency kit includes a manual can opener, cutting tools such as scissors or a knife to open foil and plastic pouches, and disposable dishes and utensils. Store these essentials in sealable plastic bags to protect them from moisture and maintain their condition. It's a good idea to keep inventory with the expiration dates of your food supplies to know when to review and refresh your stock (consuming the current supply and replenishing it with fresh purchases).
Examples of things to keep on hand for your Short Term Emergency Food Supply:
- Ready-to-eat Canned Meats, Beans, Soups, Fruits and Vegetables
- Canned Milk & Juices
- Shelf-stable boxes of milk, juice and broth
- Nut Butters
- Jerky
- Jam & Jellies
- Granola Bars
- Crackers
- Trail Mix, Nuts
- Hard Candy
- Instant Coffee & Tea Bags (keep in mind amount of water needed)
- Instant Rice or Potatoes (keep in mind amount of water needed)
What to do if your Power Goes Out
Make sure to eat the perishable food in your fridge first. Then you can move onto the food in your freezer. Make sure to minimize the number of times your fridge or freezer is opened! You can put a few blankets over your freezer to try and keep it cold for as long as possible (just don't let the blanket cover the air vent or fan). Make sure to check that the food is still frozen before consumption; it should have ice crystals on it, or your freezer's temperature should be 40 degrees or below.
Establishing a Long-Term Emergency Food Supply
When planning for months or years, consider foods with a long shelf life. Grains, beans, powdered milk, and certain dehydrated or freeze-dried foods can last up to 25 years when stored correctly. Utilize mylar bags and oxygen absorbers to extend shelf life and protect against pests. A balance of protein, carbohydrates, and fats is essential, along with vitamins and minerals, to support health over extended periods.
Commercially canned goods are a top pick for an emergency food stash. The USDA notes that these items have the potential to remain edible for five years or more. Nonetheless, regular checks are crucial to ensuring the integrity of your supply. Be vigilant for signs of corrosion, leaks, swelling, or significant dents, particularly around the seals. Even if it's not immediately apparent, a severe dent could compromise the can's seal. Discard any cans that exhibit these issues without consuming their contents.
Purchasing vs. DIY Emergency Food Kits
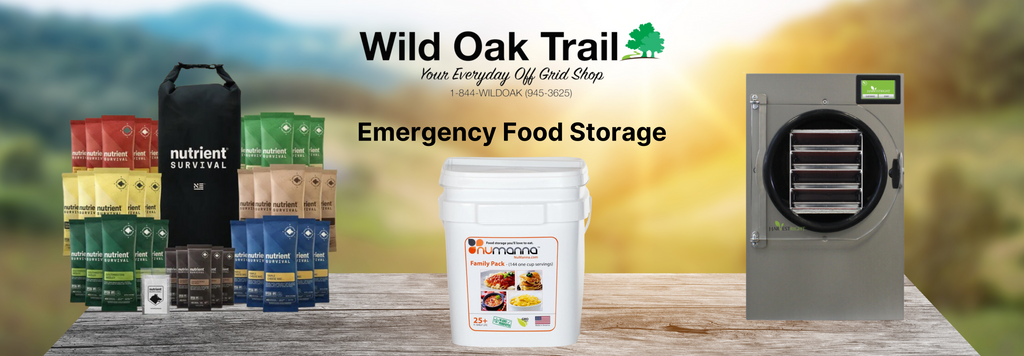
Pre-assembled freeze-dried emergency food kits offer a lot of convenience and ease of use, you simply need to add water. Freeze Dried Food is also extremely light to carry with you on the go compared to canned goods, etc. For long-term Emergency Food Supplies, we highly recommend freeze-dried foods, they will last up to 25 years. However, if you're just starting to build your own supply, especially for the short term, it can be less costly to build your own. Of course, you need to consider your budget, space, and the specific needs of your household when deciding between purchasing a kit or creating your own.
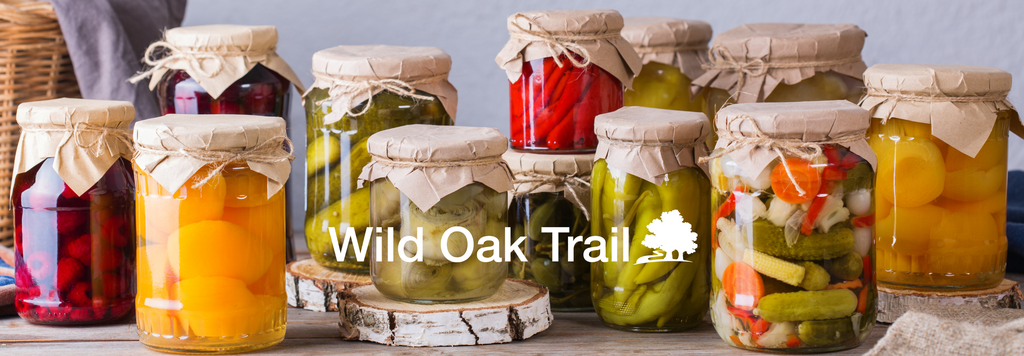
Storing and Preserving the food from your own Garden
If you're an avid gardener, you'll likely want to preserve some of your nutritious home grown food as part of your prepper pantry. A lot of people choose to do home canning which is a great way to keep your food fresh, and who doesn't love home made pickles! Another way to keep your food for even longer is freeze drying it! You can get a home freeze dryer from Harvest Right and make your very own freeze-dried emergency food supply that can last up to 25 years! You can freeze individual ingredients or full recipes, and all you have to do to eat them is rehydrate! Although things like freeze dried fruit and snap peas are delicious as is.
Tips for Home Canning
You've put a lot of effort into growing your organic veggies, and now you're looking to keep enjoying them all year round and include them in your prepper pantry. Canning is a great way to do that.
There are two main kinds of canning: the 'water bath' method for foods that are naturally acidic like fruits, jams, and tomatoes, and pressure canning for foods that aren't acidic, including most vegetables, meats, and fish.
Canning needs to be done carefully, making sure everything is clean and sterile. It's a good idea to get the latest canning guides from trusted brands like Ball and Kerr, or the US Department of Agriculture. Also, your pressure canner will have a guide that's important to read before you start.
-
Get Set Up: Before you start preparing your food, make sure you have all your canning gear and ingredients ready. This includes your canner, jars, lids, rings, towels, tongs, and possibly a funnel for filling the jars.
-
Dishwasher Trick: To clean and warm up your jars, run them through the dishwasher. This gets them hot and ready for canning, which helps prevent them from cracking when you fill them with hot food.
-
Keep Jars Warm: After processing, don’t place hot jars on a cold counter; use a tea towel or newspaper instead. Newspapers are great for easy cleanup.
-
Handle with Care: When you take the jars out of the canner, don’t bump them together. Hot glass is fragile.
-
Watch for Drafts: Keep your windows closed when you’re taking jars out of the canner to avoid breaking them with a sudden draft. Or if you're like me and run hot all the time, you can cover the jars with a towel so you can keep a light draft going.
-
Step Up: If you’re not tall enough to comfortably reach into your canner, use a footstool. It’s safer and easier.
-
Let Them Be: Don’t move the jars for 12 to 24 hours after setting them out. Moving them could mess up the sealing process.
-
Cool Storage: Store your jars in a cool, dry, and dark place. Underneath a bed or in a pantry works great.
-
Magnetic Wand: If your lids need to be heated before use, a magnetic lid lifter can be a handy tool to easily pick them up.
-
Label Your Work: Mark your jars with the date you made them. It helps you keep track of what you make and rotate your stock.
Safety, Maintenance and Storage
Maintain your emergency food supply by checking expiration dates and safeguarding against environmental factors like moisture and temperature. A cool, dry place is ideal for storage. Regularly update your supply to reflect any changes in dietary needs and preferences. Here is a super informative article on Shelf Stable Food Safety from the USDA.
For Flour, Beans, Sugar and Rice, it's a good idea to freeze them in their original bags for about two days, then let come to room temperature before packaging them in mylar bags (or other airtight container) with your oxygen and moisture absorbers. Then store as desired in a dry, cool place. Make sure to check on your supplies regularly to watch for pests, moisture etc.
For canned food, I wouldn't rush to throw them away the second they expire. If stored correctly (in a cool, dry place) and if the cans aren't dented or damaged in any way, they can last for a long time past the expiration date.
Conclusion
An emergency food supply is a critical component of any preparedness strategy. By understanding the basics, considering the needs of all household members, and maintaining your supply, you can ensure peace of mind knowing that you are ready for the unexpected. Take action today to secure your emergency food supply for tomorrow.
Want to Learn More about Prepping in General?
Check out our free eBook! Just enter your email address below, and we'll send you a copy.

Leave a comment
Comments will be approved before showing up.