Your Cart is Empty
3 Steps to Assembling Your OverEZ Chicken Coop
Have you ever daydreamed about stepping into your backyard to fetch fresh eggs every morning? Sounds like a delightful way to start the day. As you hoped in the trend of backyard chicken-keeping and picked the OverEZ Chicken Coop out of many chicken coops on the market— one thing left. How will you build it?
Let your worries go, as this article will guide you through assembling your very own well-built coop suited for both hot and cold climates. Grab your screw gun, and let’s get started with our Step-by-Step OverEZ Chicken Coop Assembly Guide!
1. Find the Perfect Spot
The real estate mantra “location, location, location” holds just as true in the chicken world as it does in the human one. The right spot for your OverEZ coop can mean the difference between thriving hens and ones that just aren’t feeling the vibe. Consider the following factors to hit the right spot:
Climate
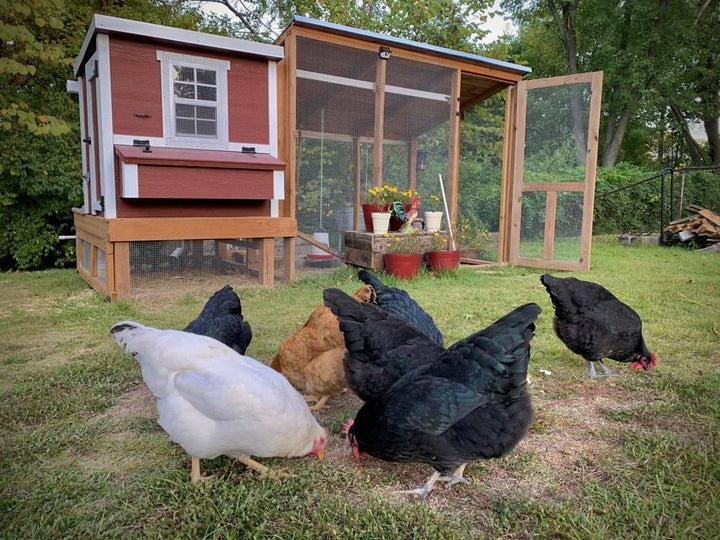
Chickens, like people, need a comfortable living environment to stay healthy and productive. If you live in a high-humidity and hot region, place your coop in a shady area or where it can get afternoon shade to protect your hens from the scorching sun. But since you’ve selected an OverEZ coop, the ceiling has radiant barrier sheathing to keep the coop cooler. In contrast, if you’re in the North with subfreezing temperatures and snow, positioning your coop to catch the morning sun can help keep your chickens cooped up with warmth as they start their day.
Safety
Accessibility
Think about your daily routine. You’ll need easy access to the coop for feeding, cleaning, and egg collection. Ensure your chosen spot doesn’t turn into a mud pit after rain — unless you enjoy slipping and sliding with a basket of eggs! A location near your house or garden can make these chores much more convenient, especially in inclement weather.
Ground Control
Uneven terrain can lead to structural issues and water pooling around the coop, which can cause damp conditions and promote disease. The OverEZ Chicken Coops have treated resin for superior moisture resistance but still need a proper foundation to function best.
Long-Term Considerations
Think about the future — both yours and your chickens. As your hens grow, you might need additional space for an OverEZ Large Chicken Coop. So, consider if your location allows for expansion. Also, check any local regulations or zoning laws about backyard chickens and coop placements. Planning ahead can save you a lot of trouble down the road.
2. Gather Your Flock (of Helpers)
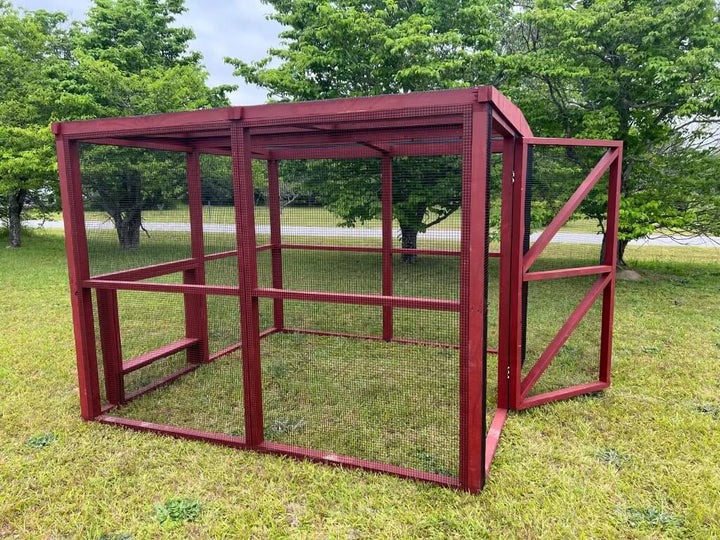
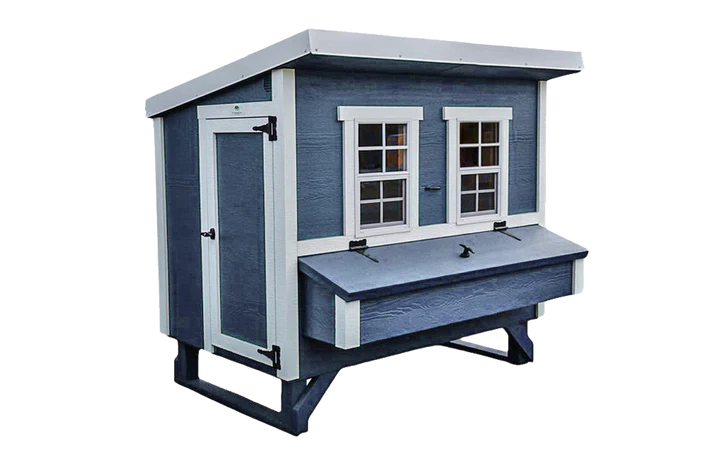
One of the standout features of the OverEZ Chicken Coop is the quick assembly time. Forget spending your entire weekend on construction; this coop promises to be standing in less than 60 minutes. All panels and trim come pre-painted, all hardware is already installed, and even the doors, windows, and nesting boxes are assembled right out of the box.
While assembling your OverEZ chicken coop solo is possible, having an extra pair of hands can make the process smoother, especially when handling a medium OverEZ Coop or a large one. So, grab a friend or family member—not only will it speed things up, but it’s also a great way to spend some quality time together.
Here’s how you can have your OverEZ Chicken Coop ready in no time:
-
Get Your Screw Gun.You’ll notice that most of the work is already done for you: the panels are painted, the trim is attached, and the hardware is in place. So, with only a screw gun, you can get everything done.
-
Lay Out all the Pieces.Organize them according to the easy-to-read instructions provided. Doing so ensures that everything is accounted for before you begin.
-
Set Up the Base.The base of the coop is the foundation of your chicken’s new home, so make sure it is level and secure. If you’re working alone, this part might take some maneuvering, but it’s nothing too challenging.
-
Attach the Panels. The panels are designed to fit together seamlessly, so all you need is your screw gun to secure them into place. If you have someone to help, they can hold the panels steady while you screw them in.
-
Doors, Windows, and Nesting Boxes. Since the doors, windows, and nesting boxes are pre-assembled, all you need to do is attach them to the framed openings.
-
Roof Installation.The roof can be the trickiest part, especially for the larger models. If you’re assembling the coop solo, take your time to align everything correctly. The metal is already installed on the roof panel, so once it’s in place, secure it with your screw gun.
-
Final Touches.Walk around your newly assembled coop and tighten any loose screws. Make sure everything is stable and secure. Add any additional accessories, like a chicken ramp or extra perches, to make the coop even more comfortable and engaging for your chickens.
Conclusion
Assembling an OverEZ Chicken Coop isn’t just about putting together pieces of wood and wire. It’s about creating a safe and comfortable home for your chickens where they can thrive. Remember, a happy chicken is a productive chicken, and there’s nothing more satisfying than watching your flock cluck contentedly in their new home. Now, go forth and assemble—you’ve got this!

Leave a comment
Comments will be approved before showing up.