Your Cart is Empty
Can you Freeze Dry without a Machine?
Have you ever looked at freeze-dried fruits in the store and thought, “Wow, I wish I could make this at home without buying an expensive home freezer dryer!”But wait—do you really need to invest in expensive equipment to freeze-dry foods? Not at all!
Believe it or not, you can freeze dry without a machine, like a Harvest Right Freeze Dryer, in the comfort of your kitchen. This blog is here to guide you through the Alternative Methods to Freeze-Dry Foods and preserve them right in your home.
Why Try Freeze Drying Food Preservation at Home?

Home freeze-drying offers several benefits:
-
Longer Shelf Life: Freeze-dried foods last years when stored properly in air-tight bags.
-
Nutritional Retention: Unlike dehydrating food orother preservation methods, freeze-drying retains the food’s original texture, flavor, and nutritional value.
-
Convenience: Store food for long periods without the need for refrigeration. Likewise, freeze-dried food is lightweight and easy to store and transport.
-
Versatility: Freeze dry fruits, vegetables, meats, and snacks.
How to Freeze-Dry Food Without a Machine
While commercial freeze-drying machines are quite an investment, there are still ways to make your own freeze-dried food at home, such as:
Method 1: Using a Deep Freezer
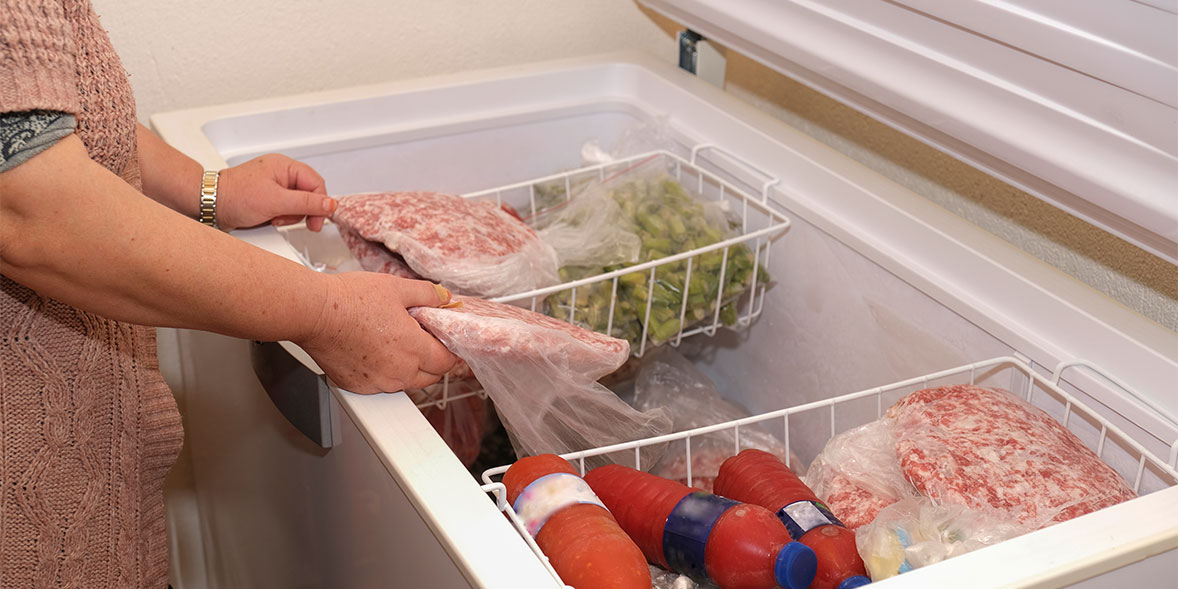
Using a deep freezer is a convenient and accessible method to freeze-dry food at home. While this method takes longer than using dry ice, it is effective and requires no special equipment beyond a standard home freezer.
Step-by-Step Guide
-
Prepare the Food: Select the food you want to freeze dry. Fruits, vegetables, and meats are all good candidates. Wash and cut the food into small, even slices. Ensure the pieces are as consistent in size as possible, as the thickness of the food slices affects the freeze-drying time.
-
Blanching (Optional): If freeze-drying vegetables, consider blanching them. Boil the vegetables for a few minutes, then quickly transfer them to an ice bath to stop the cooking process. Blanching helps preserve color, flavor, and nutritional value.
-
Pre-Freezing: Layer the food on a parchment paper-lined baking sheet. Ensure the pieces are not touching each other to prevent clumping. Place the baking sheet in your freezer and freeze until the food is solid, which usually takes a few hours.
-
Main Freezing: Transfer the pieces to air-tight containers or high-quality freezer bags once the food is completely frozen at the lowest temperature. A vacuum sealer is especially useful as it removes as much air as possible, essential for freeze-drying.
-
Freeze Drying: Place the food in the freezer for several weeks. The ice crystals will sublimate over time, leaving you with freeze-dried food. Check periodically to ensure the process is working.
-
Final Check: Remove the food from the freezer after a few weeks and check its dryness. The food should be dry and brittle. If there are any signs of moisture, return it to the freezer for more time.
Tips for Success
-
Patience: Using such a method takes time, often several weeks. Be patient and check the food periodically.
-
Proper Storage: Once the freeze-drying process is complete, store the food in airtight containers to maintain its shelf life.
-
Use Fresh Produce: The fresher the food, the better the results. Avoid using food that is already on the brink of spoiling.
Method 2: Using Dry Ice
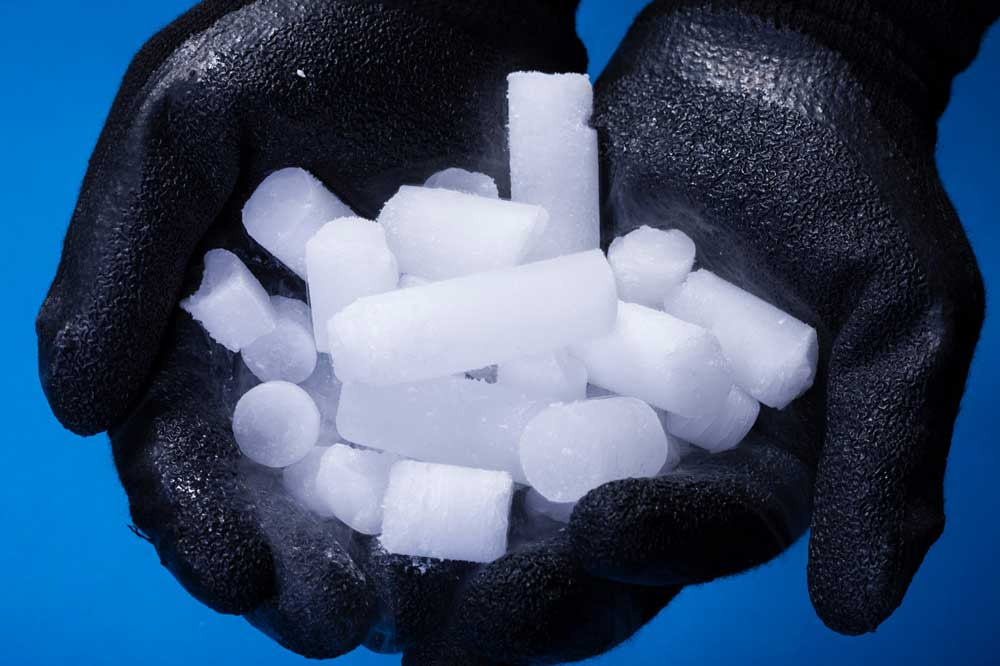
The dry ice method is another effective way to freeze dry food at home. Dry ice, which is solid carbon dioxide, creates extremely cold temperatures that can quickly freeze food and cause all the moisture to sublimate.
Step-by-Step Guide
-
Prepare the Food: As with the freezer method, start by slicing the food into small, uniform pieces.
-
Place in Plastic Bag: Put the food in a plastic wrap or bag to avoid direct contact with the dry ice. Leave the bag unsealed to allow moisture to escape.
-
Arrange in Cooler: Place the food in a large styrofoam cooler. Spread the pieces out in a single layer on a cooling rack, making sure the pieces do not overlap.
-
Add Dry Ice: Carefully place dry ice over the food. Use gloves when handling dry ice to avoid frostbite. The dry ice should completely cover the food.
-
Cover and Vent: Place the lid on the cooler, but don’t seal it completely. You want to allow the carbon dioxide gas to escape as the dry ice sublimates.
-
Freeze Drying: Leave the cooler in a well-ventilated area. Allow the food to freeze dry for 24 to 48 hours. Check periodically to see if the dry ice has completely sublimated. If it has, the food should be dry and brittle.
-
Storage: Transfer the food to a safe container to maintain its shelf life once the food is freeze-dried.
Tips for Success
-
Handle with Care: Dry ice is extremely cold and can cause burns. Do not use bare hands. Always wear gloves during the entire process and handle it with care.
-
Ventilation: Ensure the cooler is well-ventilated to allow the carbon dioxide gas to escape safely.
-
Check Regularly: Periodically check the food to ensure it’s drying properly and that all the dry ice has sublimated.
Method 3: Using a Vacuum Chamber
Having access to a vacuum chamber will allow a more controlled freeze-drying process similar to commercial methods. The method involves using low temperatures and reduced pressure to remove moisture from the food.
Step-by-Step Guide
-
Prepare the Food: Cut the food into small, uniform pieces.
-
Pre-Freeze: Spread the food on parchment paper in a single layer. Freeze the food until it is solid.
-
Vacuum Chamber: Place the frozen food in the vacuum chamber. Follow the manufacturer’s instructions to create a vacuum. The vacuum lowers the pressure around the food, allowing the ice to sublimate.
-
Monitor the Process: Check the food periodically. Depending on the food and the efficiency of the vacuum chamber, the freeze-drying process can take several hours to a few days.
-
Final Check: Once the freeze-drying process is complete, the food should be dry and brittle. When there are any signs of moisture, continue the process.
-
Storage: Store the freeze-dried food in a secure container to preserve its shelf life and quality.
Tips for Success
-
Follow Instructions: Each vacuum chamber is different. Follow the manufacturer’s instructions for the best results.
-
Even Slices: Ensure the food is cut into even pieces for uniform drying.
-
Storage: Proper storage is essential to maintain the quality and shelf life of the freeze-dried food.
Creative Ideas for Freeze-Drying Different Foods
Some creative ideas for foods you can freeze dry at home are listed below.
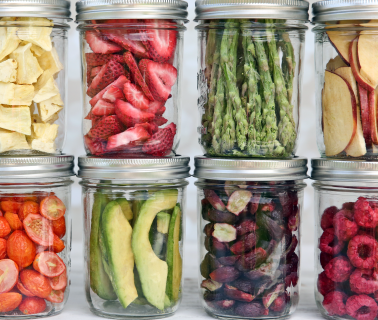
Freeze Drying Fruits
Fruits are a popular choice for freeze-drying due to their natural sweetness and nutritional value. Do the following to freeze dry fruit:
-
Preparation: Wash the fruit thoroughly. Remove any pits, stems, or seeds. Slice the fruit into small, even pieces.
-
Freezing: Lay the fruit slices on a baking sheet. Freeze the fruit until solid.
-
Freeze Drying: Use one of the methods described above to freeze-dry the fruit.
-
Storage: Once freeze-dried, store the fruit in vacuum-sealed bags.
Freeze Drying Vegetables
Vegetables can also be freeze-dried and used in soups, stews, or snacks.
-
Preparation: Wash and cut the vegetables into small, even pieces. Blanching is optional but recommended to preserve color and nutrition.
-
Freezing: Spread the vegetable pieces on a bakery paper and freeze until solid.
-
Freeze Drying: Use one of the methods described above to freeze-dry the vegetables.
-
Storage: Store the freeze-dried vegetables in vacuum-sealed bags.
Freeze Drying Meat
Freeze-drying meat can be a bit trickier, but it’s possible.
-
Preparation: Cook the meat thoroughly. Raw meat does not freeze dry well. Cut the cooked meat into small, uniform pieces.
-
Freezing: Lay the meat pieces on baking paper and freeze until solid.
-
Freeze Drying: Use one of the methods described above to freeze-dry the meat.
-
Storage: Store the freeze-dried meat in vacuum-sealed bags.
Freeze Drying Cooked Meals
Imagine having a shelf full of freeze-dried, cooked meals ready for quick rehydration. To do it:
-
Preparation: Cook the meal as you normally would. Allow it to cool completely.
-
Freezing: Place the prepared food in a thin, even layer on a baking sheet. Freeze until solid.
-
Freeze Drying: Use one of the methods described above to freeze-dry the cooked meal.
-
Storage: Store the freeze-dried meal in airtight containers or vacuum-sealed bags.
Tips and Considerations
The following are the things you should keep in mind:
Storage
Proper storage is essential to maintain the quality and shelf life of freeze-dried foods. Here are some tips:
-
Airtight Containers: Use airtight containers or vacuum-sealed bags to keep moisture out.
-
Cool, Dark Place: Store the containers in a cool, dark place to extend shelf life.
-
Label and Date: Always label and date your containers to keep track of freshness.
-
Avoid High-Humidity Areas: Store in areas with low humidity to prevent reabsorption of moisture.
Foods That Freeze Dry Well
Not all foods are suitable for freeze-drying, such as pure chocolate, jam, and peanut butter. Here’s a list of foods that freeze dry well:
-
Fruits: Apples, strawberries, bananas, blueberries, and more.
-
Vegetables: Peas, corn, green beans, carrots, and potatoes.
-
Meats: Lean meats like chicken, beef, and turkey.
-
Dairy: Milk, yogurt, and cheese (in small quantities).
-
Meals: Soups, stews, and casseroles.
-
Herbs: Basil, parsley, cilantro, and other fresh herbs.
Rehydration
When you’re ready to use your freeze-dried food, rehydration is simple.
-
Fruits and Vegetables: Soak in water for a few minutes or add directly to recipes.
-
Meats: Rehydrate by soaking in warm water or broth for 15 to 20 minutes.
-
Cooked Foods: Add hot water and let it sit until it is rehydrated.
Limitations of Freeze-Drying at Home Without a Machine
While you can freeze dry at home without a machine, these methods may not achieve the same results as when you use a freeze dryer. As such, foods may not retain the same quality or storage life as those freeze-dried with professional equipment.
The Benefits of Using a Dedicated Freeze Dryer
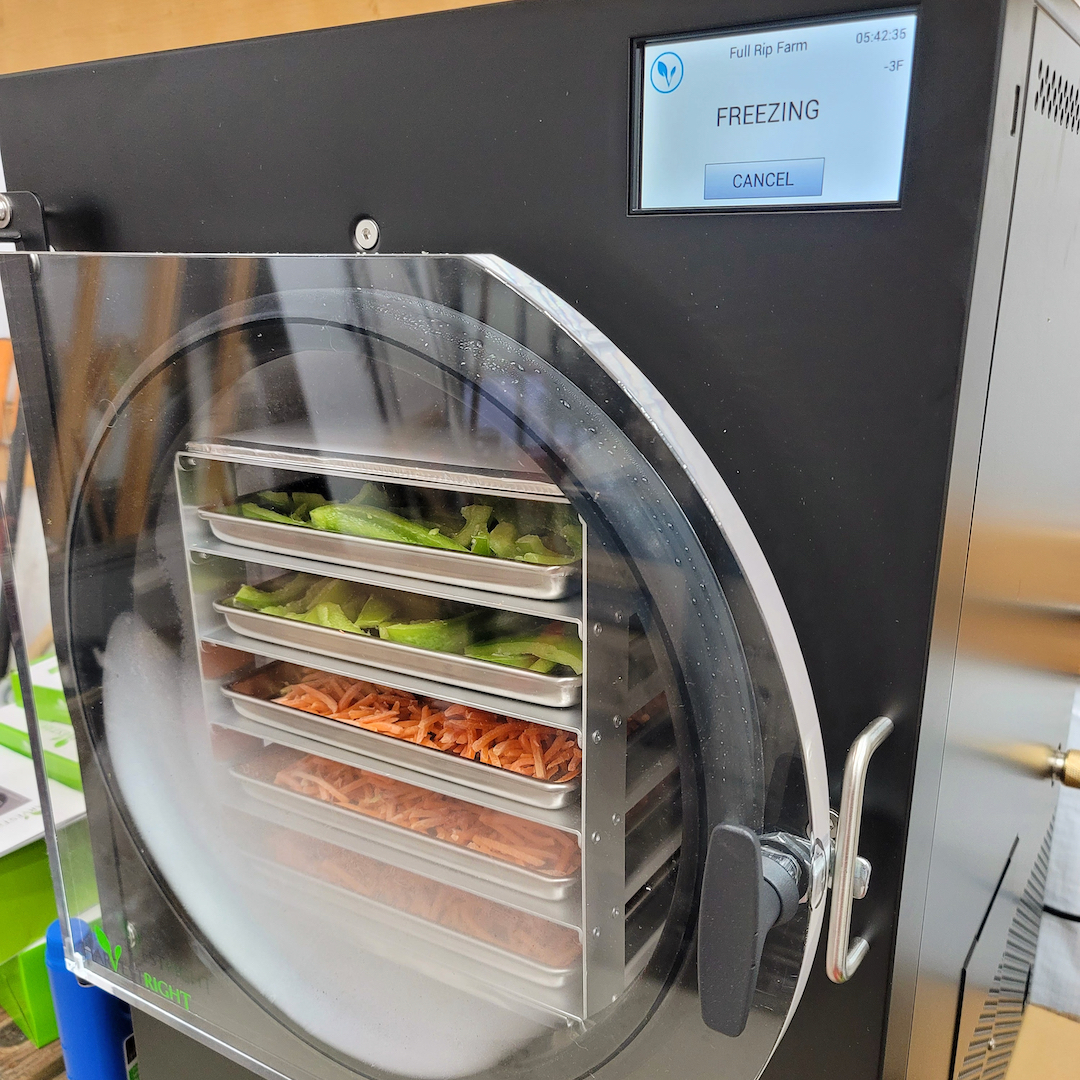
A dedicated freeze dryer machine, like those from Harvest Right, provides more consistent and higher-quality results.
-
Consistency: Achieve uniform drying without guesswork.
-
Nutrient Retention: Preserves up to 97% of the food’s original nutrients.
-
Texture and Flavor: Maintains the food’s original texture and flavor.
-
Long Shelf Life: Properly freeze-dried foods can last 25 years or more.
-
Convenience: Automates the whole process, requiring minimal monitoring.
Conclusion
Freeze-drying food without a machine is possible. By using methods like your home freezer, dry ice, or a vacuum chamber, you can create your own freeze-dried foods at home. However, a dedicated freeze dryer is the way to go for those who want consistent, high-quality results with minimal effort.
Regardless of your chosen method, freeze-drying is a fantastic way to preserve food quality for the long haul— like powdered milk. So, why not give it a try? Start with your favorite foods, follow the steps outlined, and enjoy the convenience and nutrition of freeze-dried foods in your kitchen.

Leave a comment
Comments will be approved before showing up.