Your Cart is Empty
Practical Tips for Customizing OverEZ Chicken Coops for Every Season
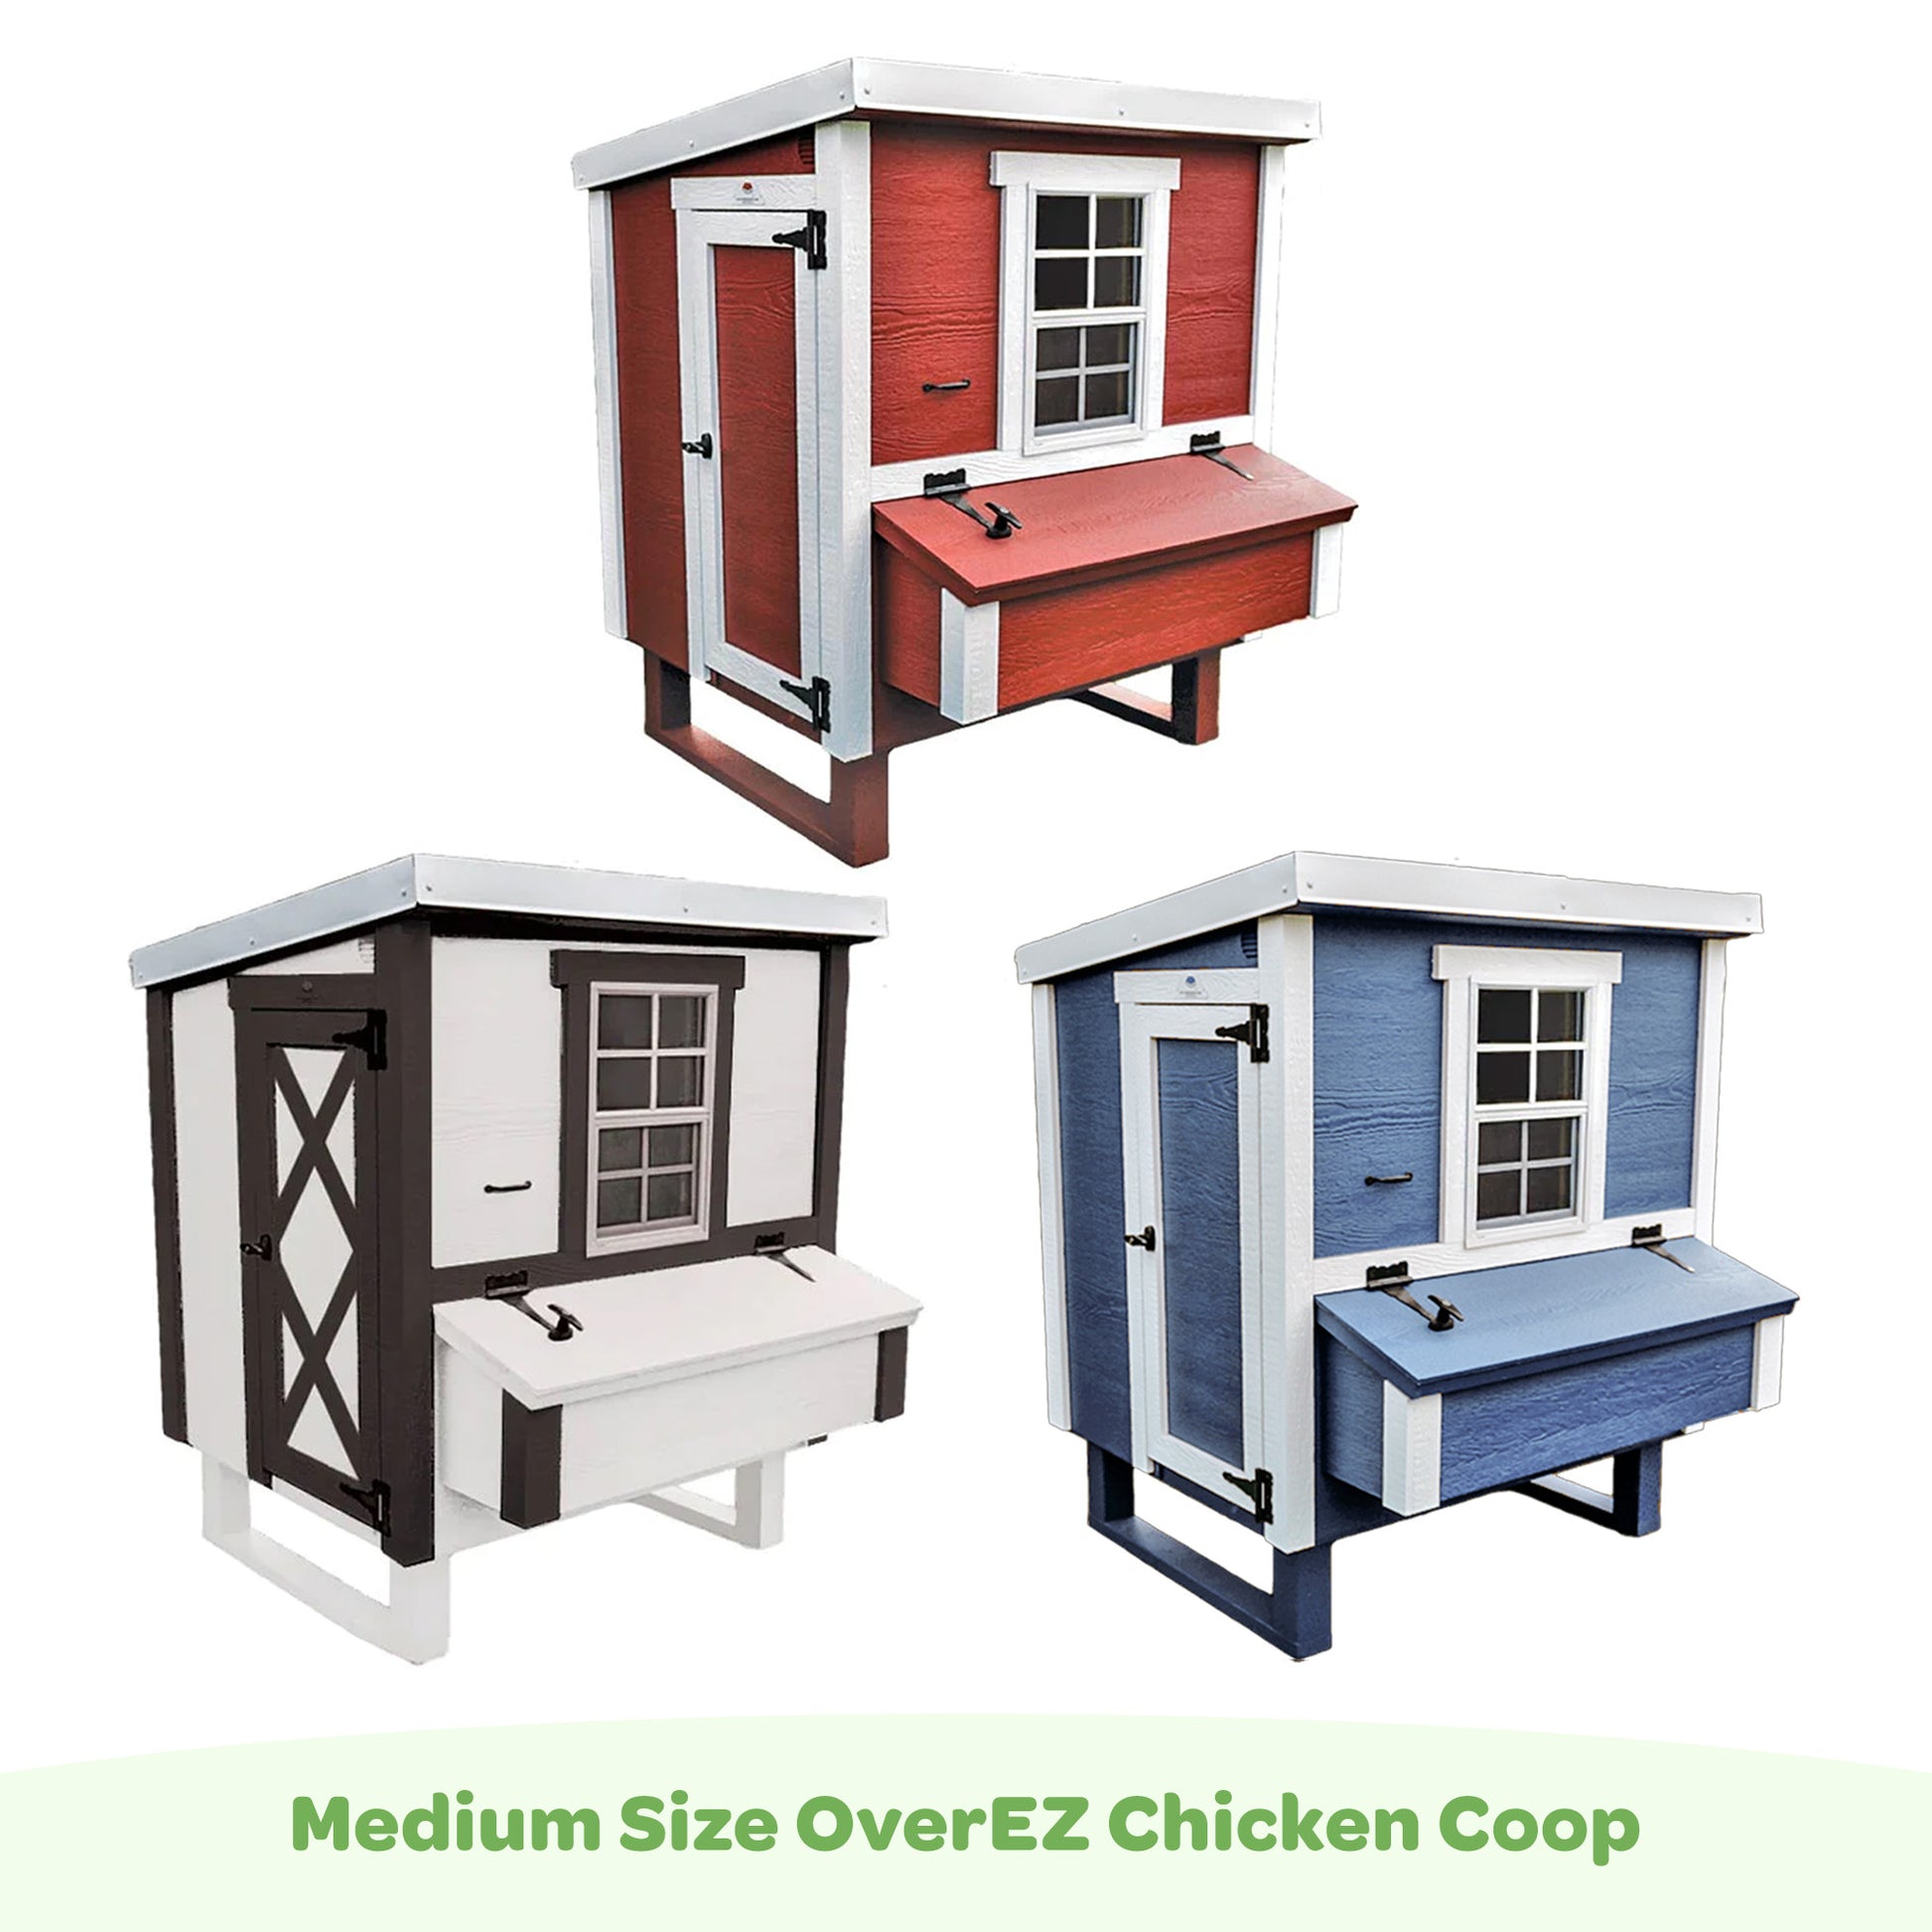
Chicken coops, particularly those from OverEZ, blend functionality with style right out of the box. Made in the USA by Amish-trained craftsmen, these coops not only boast superior moisture resistance and strong construction but also come with a style that’s quite the eye-catcher in any backyard. But why stop there?
Customizing your OverEZ Chicken Coop can be as satisfying as designing your home. More than just aesthetics, thoughtful customizations can enhance the functionality of the coop, making it cooler in the summer heat, more secure, and easier to maintain.
Below are some tips for adding a personal touch to your chicken coop while maintaining the safety and comfort of your chickens. Enjoy Customizing Your OverEZ Chicken Coop for Every Season!
Paint to Match
When blending your OverEZ chicken coop into your backyard’s aesthetic, nothing works better than a fresh coat of paint. These coops come in shades like classic red, blue, and white, but who says you have to stick to the basics? Don’t be afraid to mix and match a bit.
-
Choose Your Palette. Think about the color scheme of your house and outbuildings. Got a retro sage green kitchen that looks out over the yard? Then, choose a similar shade or complementary colors for your coop to tie the spaces together. If your home has a neutral palette, a bright-colored coop can add a delightful pop of color. Conversely, when your home is already vibrant, a more subdued coop can balance the look.
-
Prepare the Tools.Whatever your style, all you need for this transformation is some painter’s tape, a couple of brushes or rollers, and only a screw gun. For the paint, select a non-toxic, weather-resistant paint to ensure the coop looks good and stands up against rain, sun, and snow. Meanwhile, the screw gun will come in handy if you decide to remove any coop panels without modification for easier painting, especially around those tricky nooks and crannies.
-
Begin Painting.Start by prepping the surface of your OverEZ chicken coop. A light sanding might be necessary if the existing finish is glossy, ensuring your new paint adheres well. Tape off any areas you don’t want painted, like hinges or the chicken door, to keep the job looking neat. With your colors chosen and your coop prepped, it’s time to get painting. Whether enhancing the small chicken coop or sprucing up a larger model, apply your paint in thin, even coats, allowing sufficient drying time between layers.
-
Add Detailing. When you’re feeling artistic, why not add some stencils or designs? A little floral pattern or some fun chicken-themed art could be delightful.
-
Reassemble the OverEZ Chicken Coop. Once the paint is dry, use your screw gun to put everything back together.
Weatherproofing
An OverEZ chicken coop comes equipped with radiant barrier sheathing in the ceiling. This sheathing not only helps keep the coop cooler in summer but also warms it up during chilly winter months. Such dual functionality is particularly essential in cold climates where temperature swings can be severe.
Why Focus on Weatherproofing?
-
Comfort for Your Chickens: Keeping the temperature inside the coop comfortable is vital for the health and happiness of your chickens. They are less stressed and more productive when they feel comfortable.
-
Moisture Control: Chickens naturally produce moisture through their breathing and droppings. Without proper insulation and ventilation, this moisture can accumulate, creating a damp environment conducive to bacteria and disease.
-
Energy Efficiency: Efficient insulation means you spend less on heating lamps or other artificial heat sources during winter, saving energy and reducing costs.
Step-by-Step Enhancements for Weatherproofing Your Chicken Coop
-
Inspect the Existing Sheathing. Start by checking the current state of the sheathing. Look for any signs of damage or wear that could compromise its effectiveness.
-
Enhance the Barrier. If everything looks good, add an additional layer of radiant barrier insulation. The extra layer will further reflect heat away in the summer and keep the warmth inside during the winter.
-
Seal All Gaps. Ensure that any gaps or cracks in the coop’s construction are sealed. Using caulk or foam insulation to seal these gaps helps maintain a controlled environment inside the coop, reducing drafts and moisture entry, which can lead to chilly and damp conditions.
-
Add Insulating Panels. Adding insulating panels to the walls for extra chilly regions can provide another layer of warmth. These panels can be cut to fit and attached inside the coop, offering a snugger habitat for your chickens.
-
Consider the Flooring. Don’t forget the floor! Adding a layer of wood chips or straw can help insulate the floor of the coop, keeping the cold from seeping up and making the room comfortable for your chickens to walk around in.
Predator-Proof the Chicken Run

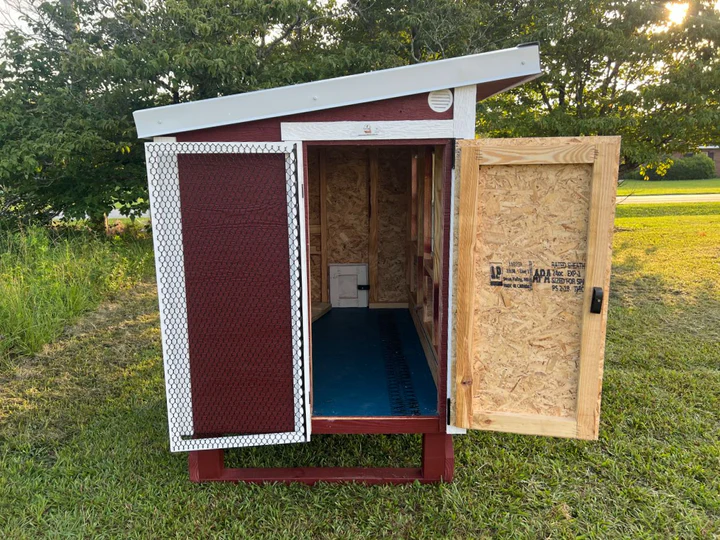
Forget the flimsy chicken wire that comes standard in many setups. To really keep the predators out and your chickens in, hardware cloth is the go-to material. Unlike traditional chicken wire, which can keep chickens in but not always keep predators out, hardware cloth features smaller mesh that can withstand attempts by predators to break in.
In incorporating the hardware cloth into your wooden 16 ft. chicken run or any size you might have, do the following:
-
Assess Your Current Enclosure. Take a thorough look at your existing setup. Measure the area of your chicken run to determine how much hardware cloth you’ll need.
-
Choosing the Right Material. Opt for a galvanized hardware cloth with 1/4 inch or 1/2 inch mesh. This size is perfect for keeping out even the most determined of small predators like weasels and snakes.
-
Installation. Unroll your hardware cloth and cut it to the required dimensions. Start attaching it from one end of the run, securing it tightly to the frame with a heavy-duty staple gun or screws. Ensure there are no loose areas where a predator could sneak in.
-
Bury Your Defenses. Predators like to dig, so thwart their efforts by burying the bottom edge of your hardware cloth. Dig a trench about 12 inches deep around the perimeter of your run, lay the cloth flat at the bottom, and then backfill with soil. For extra security, angle the buried cloth outward to create an underground barrier.
-
Cover All Angles. Don’t forget the roof and any upper point of the chicken runs. Secure hardware cloth across open areas to prevent aerial and agile climbers from gaining access.
-
Double-Check Your Handiwork. Inspect every inch of your newly reinforced run. Make sure there are no gaps or weak spots. Test the stability of your installation by gently tugging on different sections to ensure everything is anchored securely.
While you customize your chicken run, why not add fun features for your chickens, such as:
-
Perches and Platforms: Add various heights of perches and platforms inside the run. Chickens love to hop up on things, giving them a sense of security to roost up high.
-
Dust Bath Area: Create a designated area filled with sand or fine dirt for your chickens to indulge in their natural dust bathing behavior.
Stylish Nesting Boxes
Hens prefer laying in a secure and serene environment. Customizing the nesting boxes with curtains and soft linings boosts their comfort and sense of security.
-
Choose Your Materials. Select chicken-friendly fabrics and materials. Soft, natural fabrics like burlap or cotton work well for curtains, while straw, pine shavings, or even commercial nesting pads can serve as cozy linings.
-
Measure and Cut. Measure the openings of your nesting boxes and cut the fabric to create curtains. Allow a little extra on the sides and bottom for a graceful drape. For linings, cut your material to fit snugly inside the base of the boxes.
-
Fix the Curtains. Attach the curtains using a simple rod or sturdy string at the top of the nesting box opening. Ensure it’s secure but easy to move aside for egg collection and box cleaning.
-
Lay Down the Linings. Place the chosen lining material inside the boxes. Assure it’s thick enough to cushion the eggs as they’re laid but not so bulky that it takes up too much space or becomes a hiding spot for pests.
-
Maintenance. Keep the nesting areas clean and tidy. Regularly change out the curtains and linings to prevent mites and other pests, providing a hygienic environment for your flock.
Ventilation Upgrades
Chickens naturally produce moisture and ammonia through their breathing and droppings. Without adequate ventilation, these can accumulate within your coop, leading to respiratory problems and other health issues for your chickens. Besides that, proper air circulation helps regulate the temperature and keep the coop comfortable year-round.
Do the following to boost the ventilation of your OverEZ coop:
-
Assess Your Current Situation. Check the existing ventilation points in your chicken coop. Are there enough for the size of your flock? Is the air inside the coop fresh, or does it feel damp and smell ammonia-heavy? This assessment will guide your next steps.
-
Plan Your Ventilation Points. The goal is to create a cross breeze to carry fresh air in and push stale air out without creating direct drafts on your chickens, especially in colder climates. Plan to add vents near the top of the coop where hot air accumulates and lower on the opposite side to pull in fresh air flow.
-
Install Additional Vents.Craft new vents using simple materials like exterior-grade plywood. Based on your earlier planning, cut holes in strategic locations and cover them with hardware cloth to keep pests out. Then, install shutters or flaps to close the vents in extreme weather.
-
Consider a Cupola or Roof Vent. Adding a cupola or other roof vents can enhance air circulation, especially in larger coops. These vents act like chimneys, drawing air upward and helping to control the temperature and moisture levels inside the coop.
-
Adjust for Seasons. If you live in an area with variable climates, make your ventilation adjustable. Install sliding covers or hinged doors that can be opened or closed based on the weather conditions. This way, you can maintain optimal airflow while protecting your chickens from the elements.
-
Check for Water Runoff. Ensure that any new ventilation points you add do not compromise the coop’s ability to shed water. Properly seal around all vents to prevent chicken coop, keeping damp conditions inside the coop.
Conclusion
While customization can be exciting, maintain the structural integrity and core functionality of your coop. Any modifications should not compromise its sturdiness or the safety of your backyard chickens. Always use safe and appropriate materials for animal housing, and ensure that any changes do not impede the coop’s ventilation or cleanliness.

Leave a comment
Comments will be approved before showing up.